Welcome to my completely finished creative space!

When we first started looking for apartments in this area one of the requirements was a 2
nd bedroom. When the landlord asked us during the tour of this apartment why a couple needed a two bedroom apartment (as he eyed my stomach for signs of a baby) Charlie replied; "She likes to sew and I hate the sound of her sewing machine." To which I replied; "Well, it is held together with electrical tape, what do you expect?" As you can imagine I did not complain when Charlie suggested that we get a 2 bedroom apartment. I did however complain when the apartment we got looked like this:

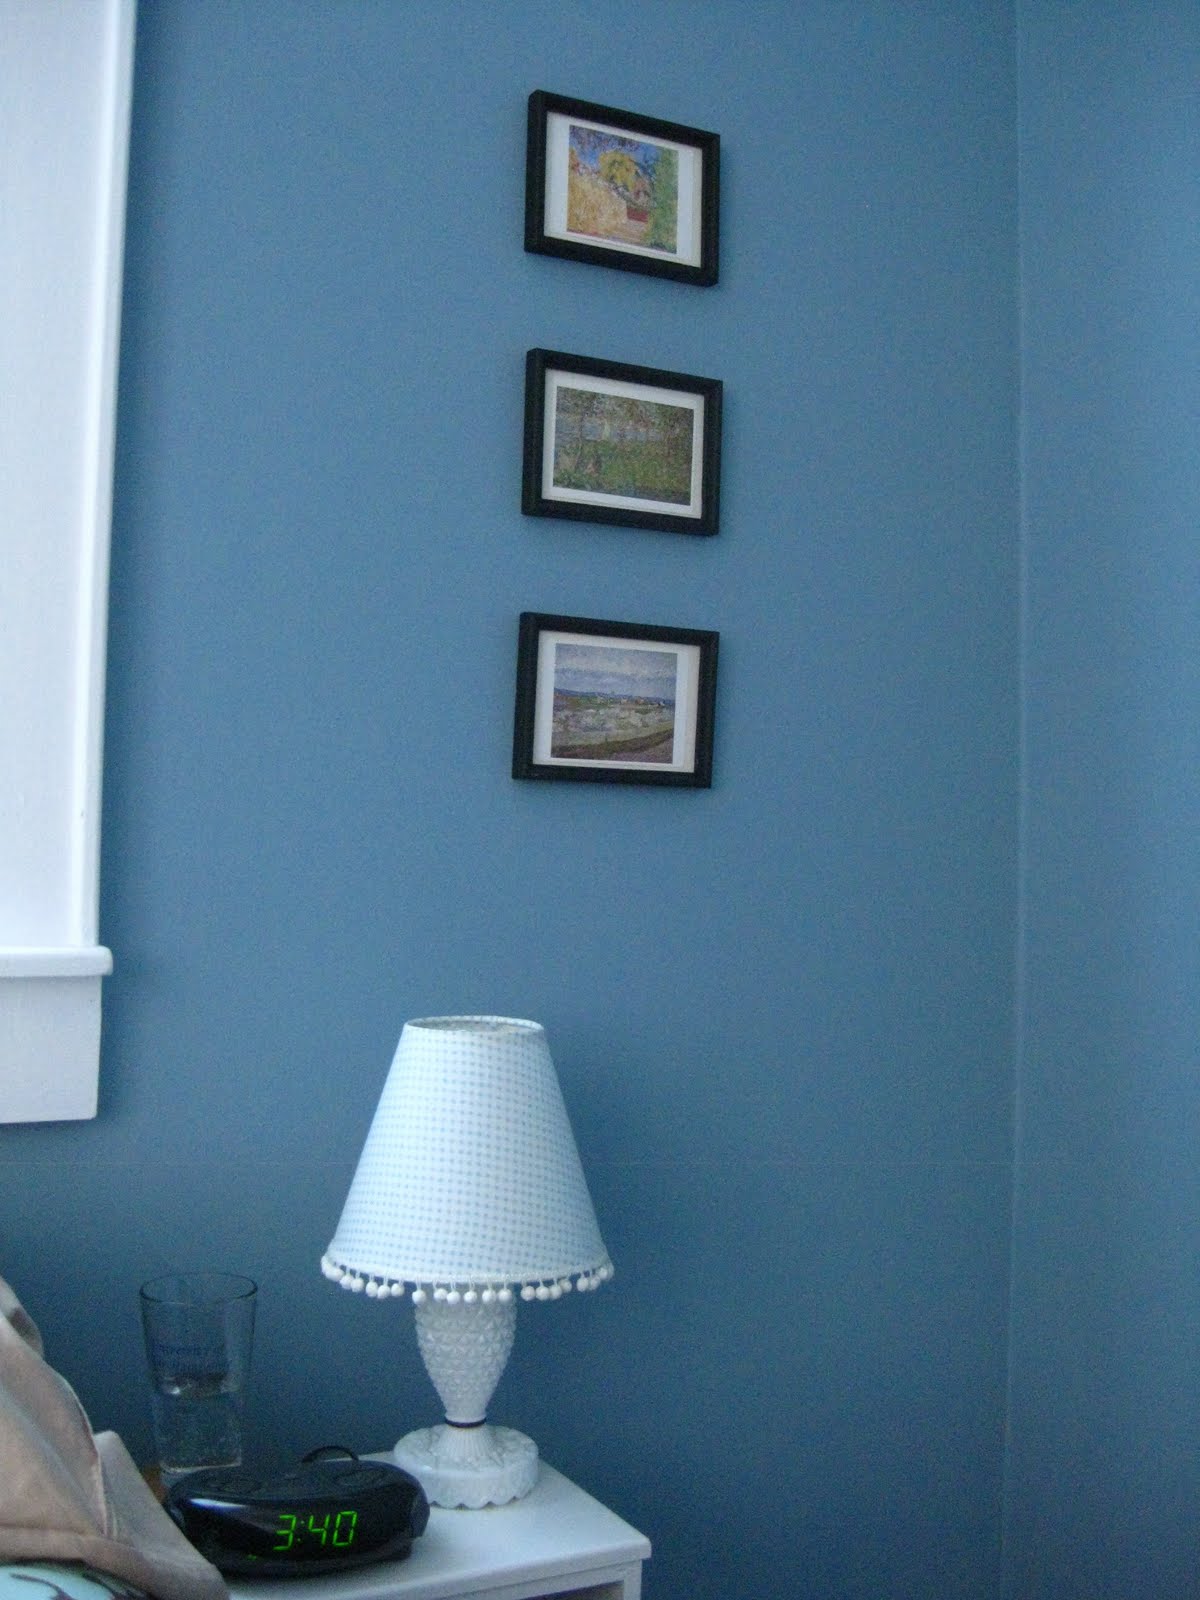
Have I mentioned before that all of the walls were baby blue and all of the trim was
navy blue? Yuck. I did manage to live with the colors for a few weeks, but we knew all along that we'd have to do a lot of work in this room to make it look like we (I) wanted it to.

Luckily Charlie took on the task of painting the trim in this room. After having to endure me complaining non-stop about painting the kitchen cabinets I think he felt it would be less bothersome for him to paint the trim himself than to listen to me complain anymore. After the trim was painted we did the walls. I was unsure of the color at
first but now I really like it.
Two weekends ago my Mum came to visit and she said that the color looked a lot like one of the colors my bedroom was when I was younger. We then stared talking about the other
similarities between this room and my childhood bedroom. The most obvious is that the "guest bed" is the bed from my old room. My Dad built it for me before I can even remember.

What I love most is that it has storage underneath:

It's almost like my Dad knew I would be a fabric hoarder from an early age. Or maybe he just thought it would be a good idea to have somewhere for me to put my mountains of Polly Pockets and art supplies. Either way the extra storage space is ideal for hiding my fabric, patterns, and
scrapbooking supplies.

In one corner is my
purse collection, which was displayed for many years in my bedroom. I also re-used the curtains from two of my old bedrooms. The patchwork valance was for my old bedroom at my Dad's house and the white curtains were from my bedroom at my Mum's old house.

The book shelf that holds my sewing books, scrapbooks, sewing notions, and my Harry Potter collection was also from my childhood bedroom. It was painted purple several years ago and although it looks somewhat childish I can't bear to paint it, 1. because I am sick of painting and 2. because I like the color, it reminds me of being little.

Last but not least is my desk, where the magic happens. My Dad built that too. When I was a junior in college I moved off campus and needed a desk to do my school work at. Instead of spending lots of money or searching high and low for a desk at yard sales or stores, I did
what I always do: asked my Dad to build me one. We designed and built it together and I have loved it ever since. The chair was found in the garage of the house I moved into and has been painted and recovered several times. I think both the desk and the chair are overdue for an update, but like I said, I am sick of painting right now.

Notice the unfinished project on the chair? Not sure which will get finished first; painting the desk and chair or finishing that tote bag.
Overall, I am very pleased with how the sewing room turned out. I am sure many more projects will come from this room. Maybe tomorrow I will show you the (almost) finished bedroom.
Goodnight!
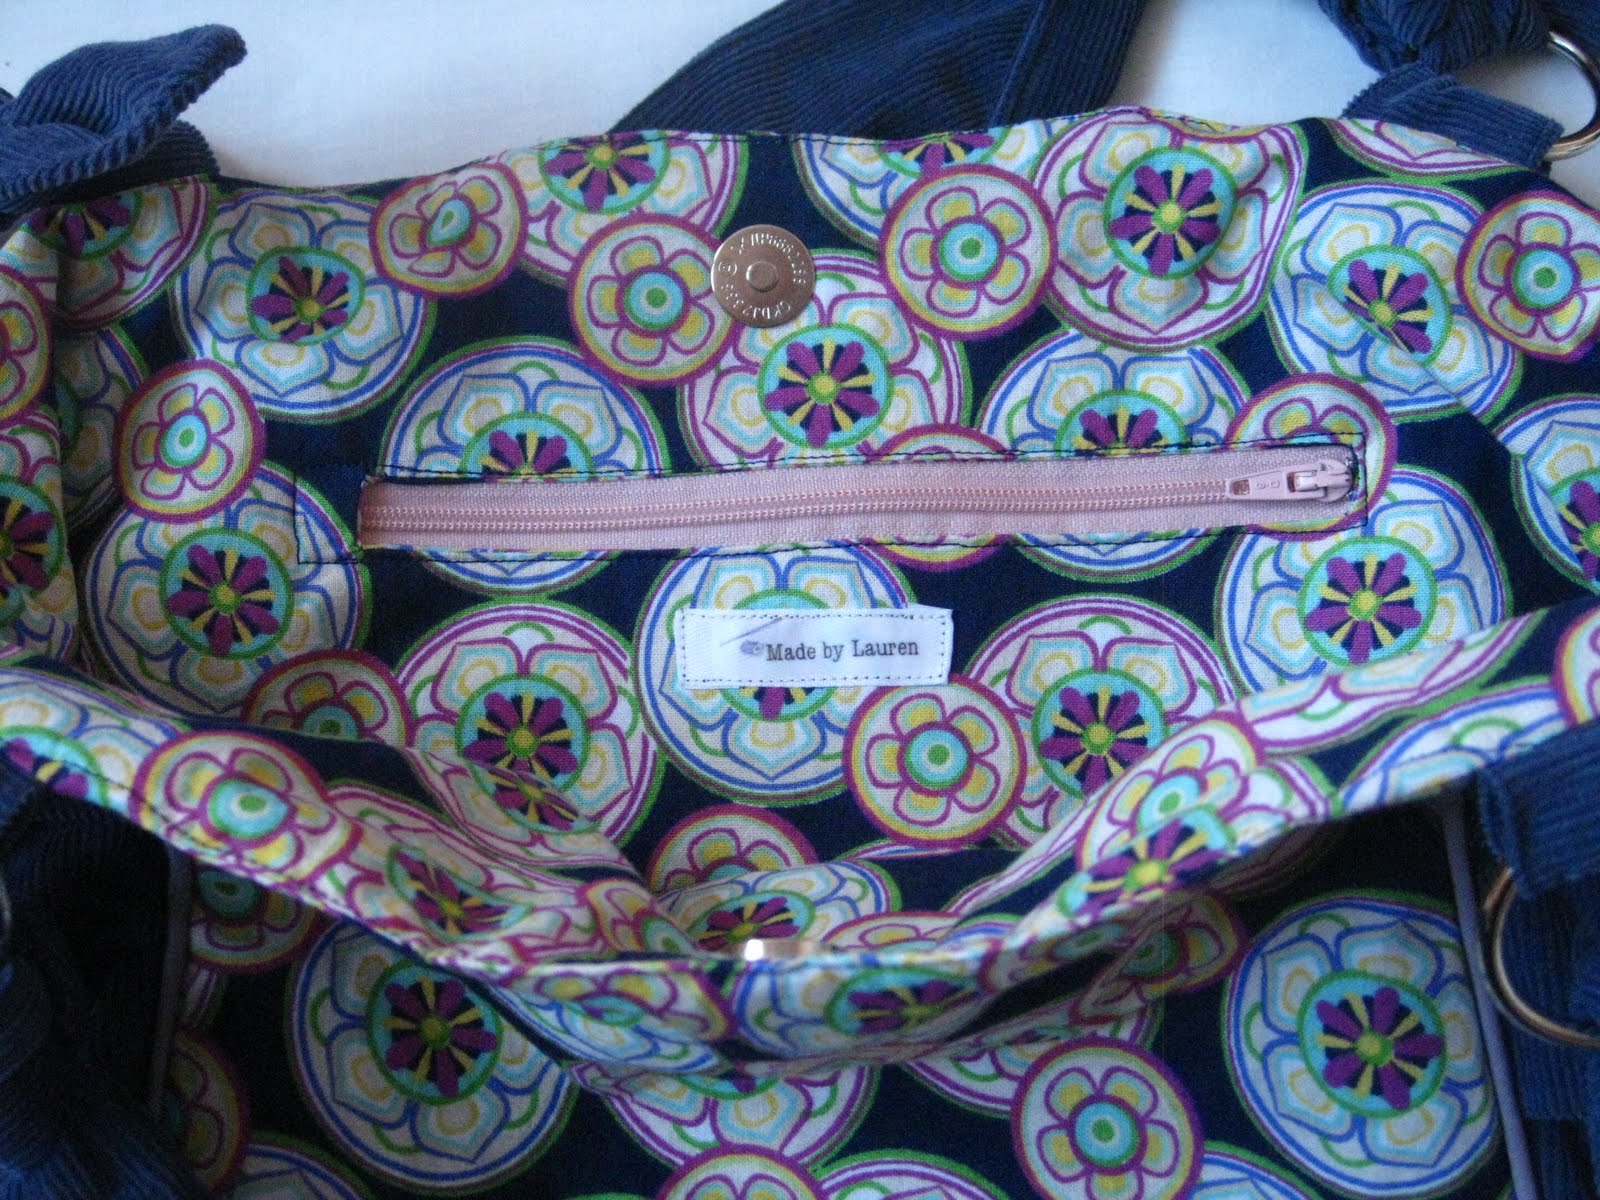
Lauren